
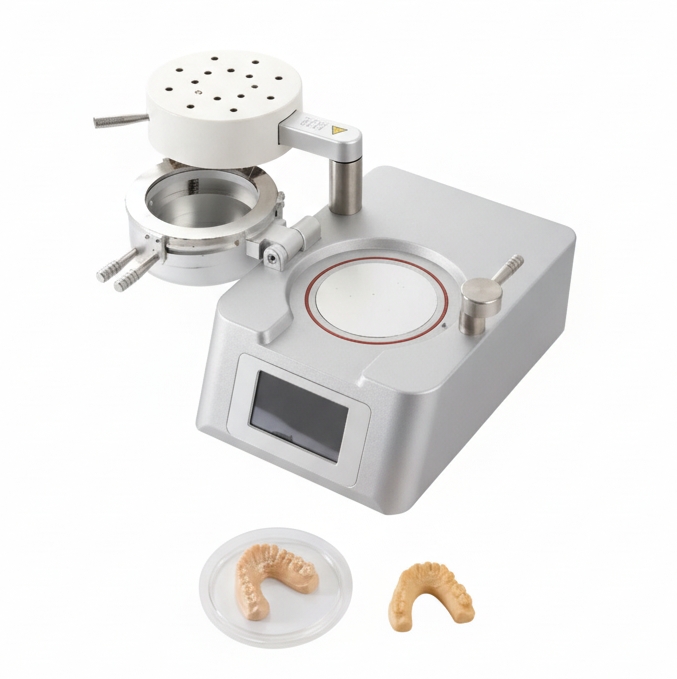
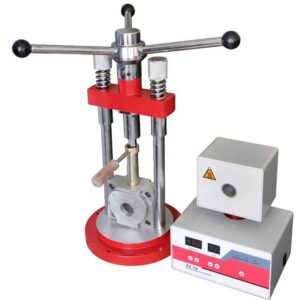
Pressure Fomer for Orthodontic Appliances
This positive pressure forming machine for dental lab delivers superior adaptation through advanced pressure forming technology.
The pressure molding machine with positive pressure technology utilizes external compressed air for precise thermoforming.
Fully automatic operation once programmed ensures consistent, reproducible results.
Widely used in modern dental laboratories for clear aligners and orthodontic appliances.
Ideal for modern prosthodontic and orthodontic laboratory workflows requiring precision, repeatability, and efficiency.
Parameter
Basic Information
Application: Clear aligners, retainers, orthodontic appliances, thermoforming prosthetics
Forming Specifications
Pressure Mode: Positive Pressure (External Compressed Air)
Adjustable Pressure Range: 1.0 – 9.0 bar
Standard Working Pressure: 5.0 bar
Film Shape & Size: φ 125mm circular films
Film Thickness Range: 0.3mm – 6.0mm
Compatible Models: Plaster or 3D-printed orthodontic models ≤ 20mm height
Heating & Control
Heating Type: Precision Infrared Heating
Max Temperature: Adjustable up to 220°C
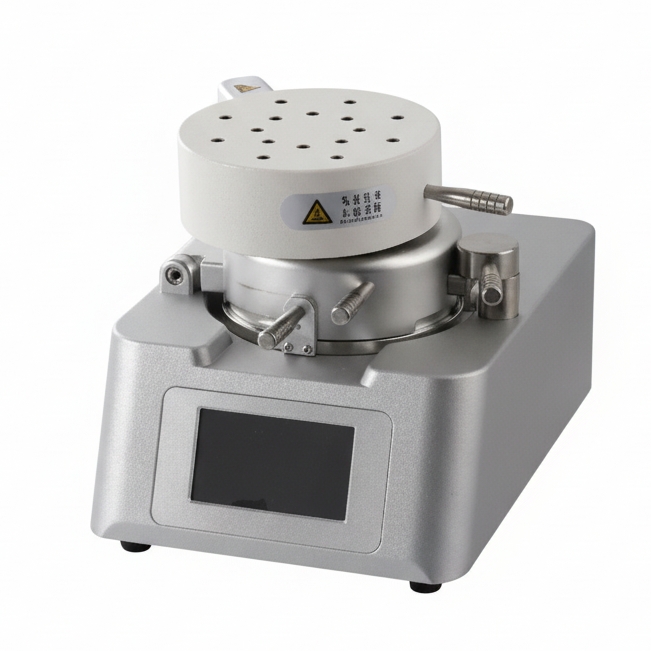
Control Interface: 4.3″ Intuitive Color Touchscreen
Operation Mode: Fully automatic once programmed
Power & Electrical
Power Supply: AC 110V / 220V, 50/60 Hz (Auto-switching)
Rated Power: 800W
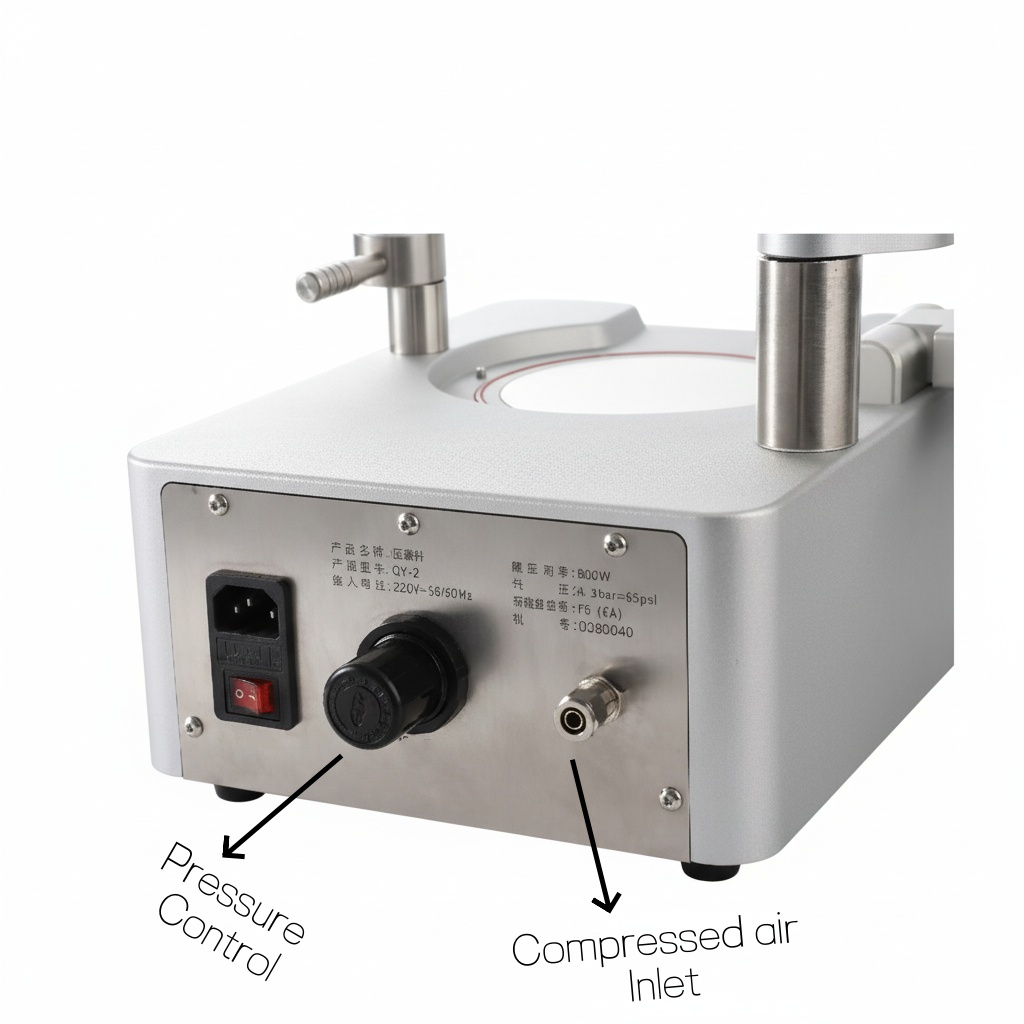
Air Supply Requirement: External compressed air (8mm inlet)
Physical Specifications
Body Material: High-Grade Aluminum Alloy
Dimensions (L×W×H): 372mm × 230mm × 223mm
Net Weight: 14.1 kg
Footprint: Compact benchtop design
Operation Tutorial Sequence:
- Connect the external 8mm air hose and power cord to the rear panel, then turn on the red power switch.
- Lift the heating unit handle and swing the heater aside to access the molding chamber.
- Open the film clamp ring, place a 125mm circular thermoplastic sheet inside, and tighten the screws to secure it.
- Place your dental model on the center base plate (ensure model height is ≤20mm).
- Swing the heating unit back over the film clamp and lower it into the heating position.
- Set the heating time, pressure time, and pressure level (1–9 bar) using the touchscreen interface.
- Once heating is complete, quickly swing the heater away and flip the film clamp down over the model.
- Lock the clamp handles tightly immediately to ensure a proper seal.
- The machine will automatically apply positive pressure; wait for the pressure timer to count down.
- Press the “air” button on the screen to release pressure, then unlock the handles and lift the clamp.
- Remove the formed appliance, separate it from the frame, and trim the excess material.
Reviews
There are no reviews yet.